Again I am taking instructions straight from a section in Microsoft’s Chess Tutorial. But I am just adding in a few extra pictures because I am a visual learner and this really helps me solidify what I’m doing in my head. So some people might find this quite slow and hand holdy, so sorry, maybe the Microsoft pages will be better for you.
https://docs.microsoft.com/en-us/windows/mixed-reality/develop/unreal/tutorials/unreal-uxt-ch2 The whole tutorial is great and recommend you read through it.
So,
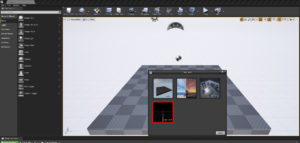
CREATE YOUR LEVEL – Select File > New Level
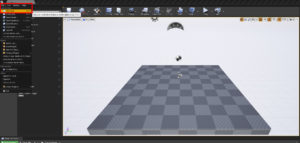
and choose Empty Level. The default scene in the viewport should now be empty.
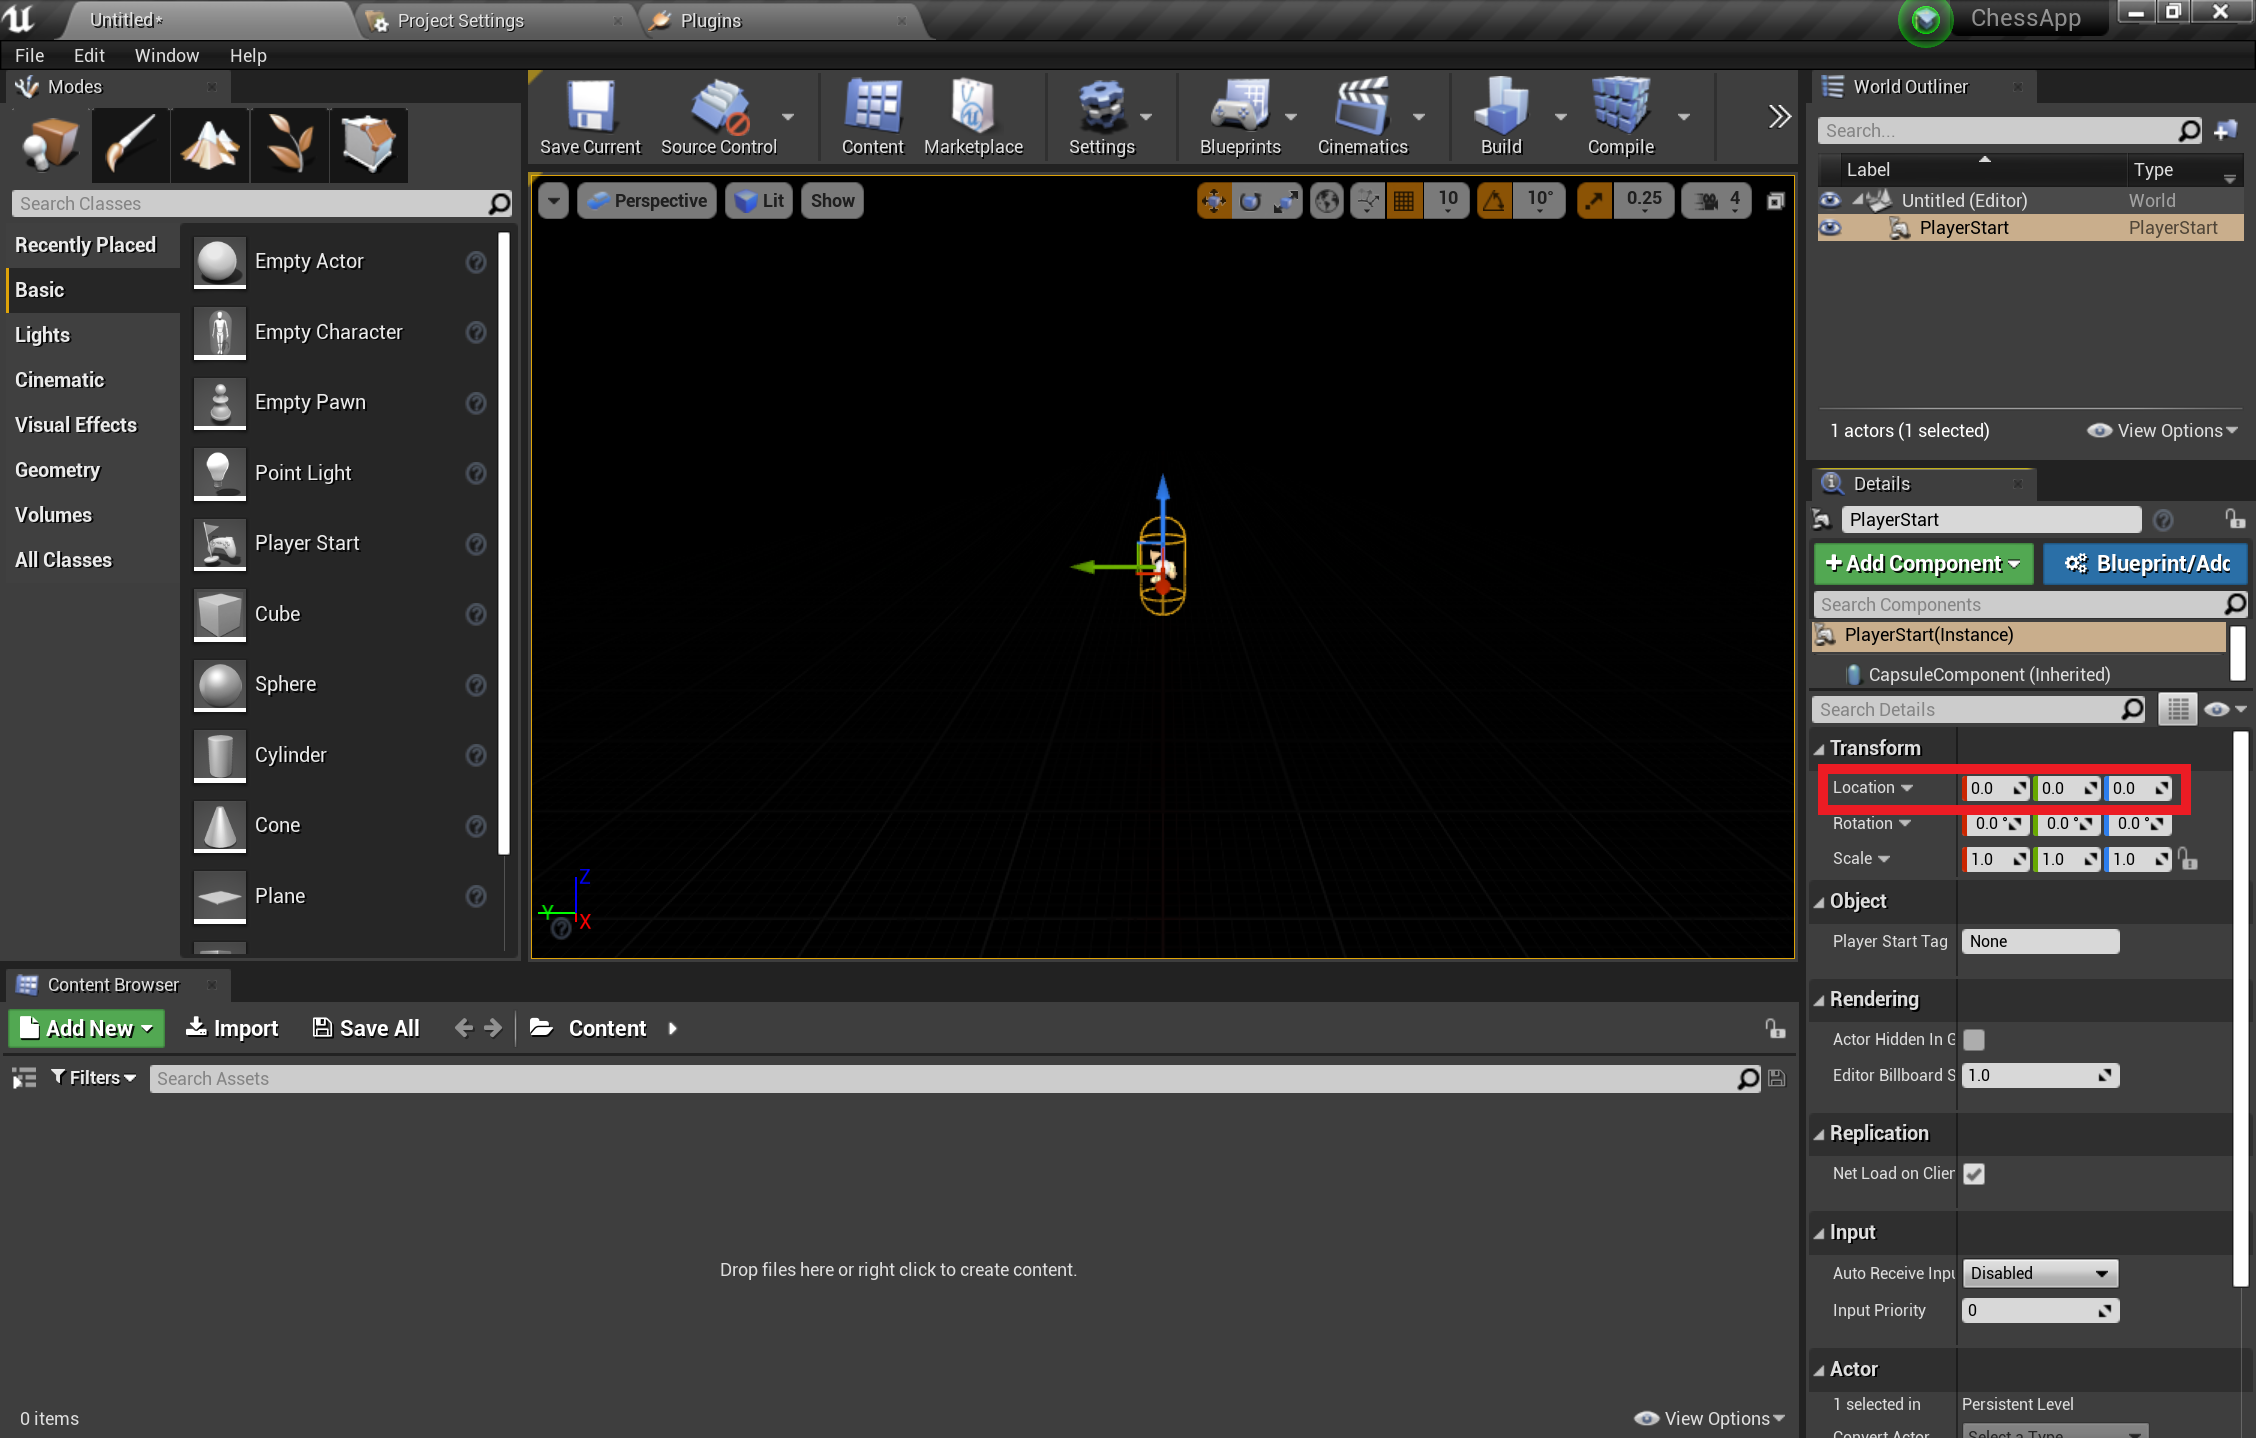
CREATE PLAYER START – Select Basic from the Modes tab and drag PlayerStart into the scene.

Set Location to X = 0, Y = 0, and Z = 0 in the Details tab to set the user at the centre of the scene when the app starts up.
ADD A CUBE – Drag a Cube from the Basic tab into the scene.
- Set Location to X = 50, Y = 0, and Z = 0. to position the cube 50 cm away from the player at start time. (see picture above for where you’ll find Transform settings again)
- Change Scale to X = 0.2, Y = 0.2, and Z = 0.2 to shrink the cube down.

ADD A LIGHT – Switch to the Lights tab in the Modes panel and drag a Directional Light into the scene. Position the light above PlayerStart so you can see it

SAVE YOUR FILE – Go to File > Save Current As, name your level Main, and select Save.
With the scene set, press Play in the toolbar to see your cube in action! When you’re finished admiring your work, press Esc to stop the application.